- Joined
- Nov 6, 2013
- Messages
- 11,282
- Reputation
- 9,745
- Reaction score
- 37,828
- Points
- 0
- Currently Smoking
- anything I can get my hands on!
Hey!
Here I am with another project!
This time we're making a time lapse camera. Why? Well I have always wanted to make my own time lapse grow movie for one and just cause for two and three because it is so darn cool. Not to mention it can be used for many things other than a time lapse device.
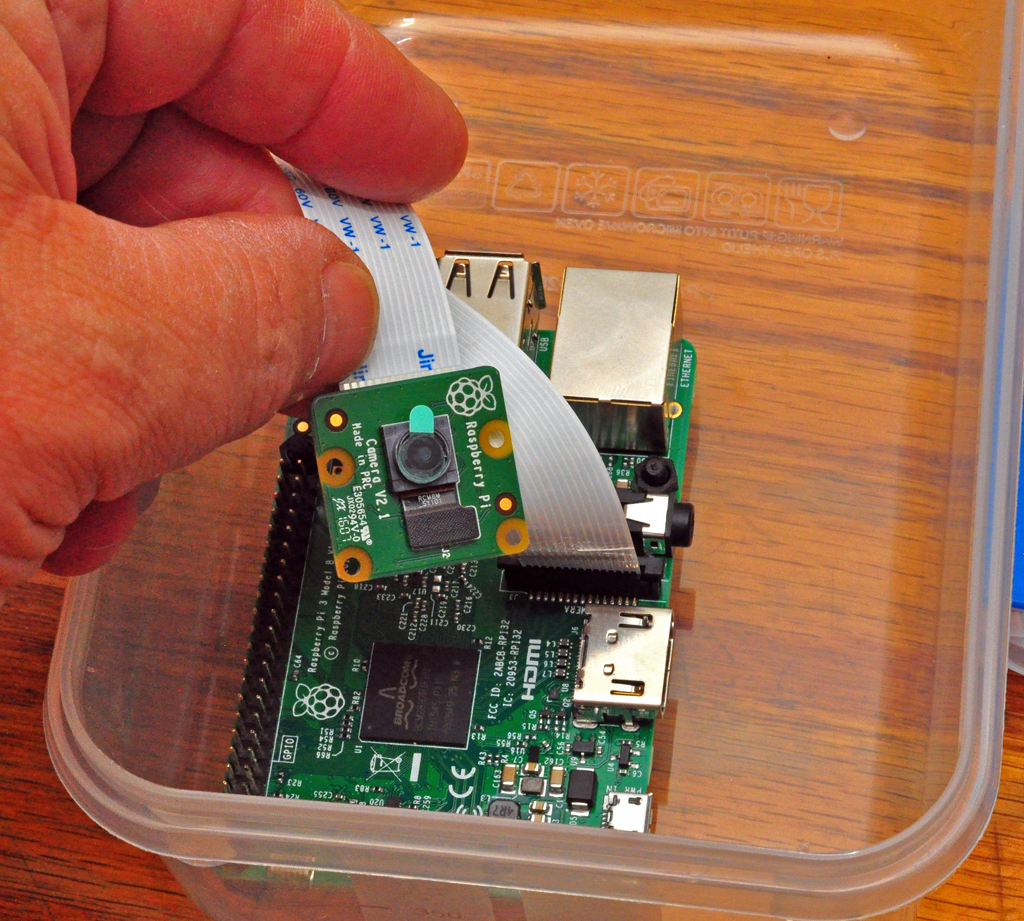
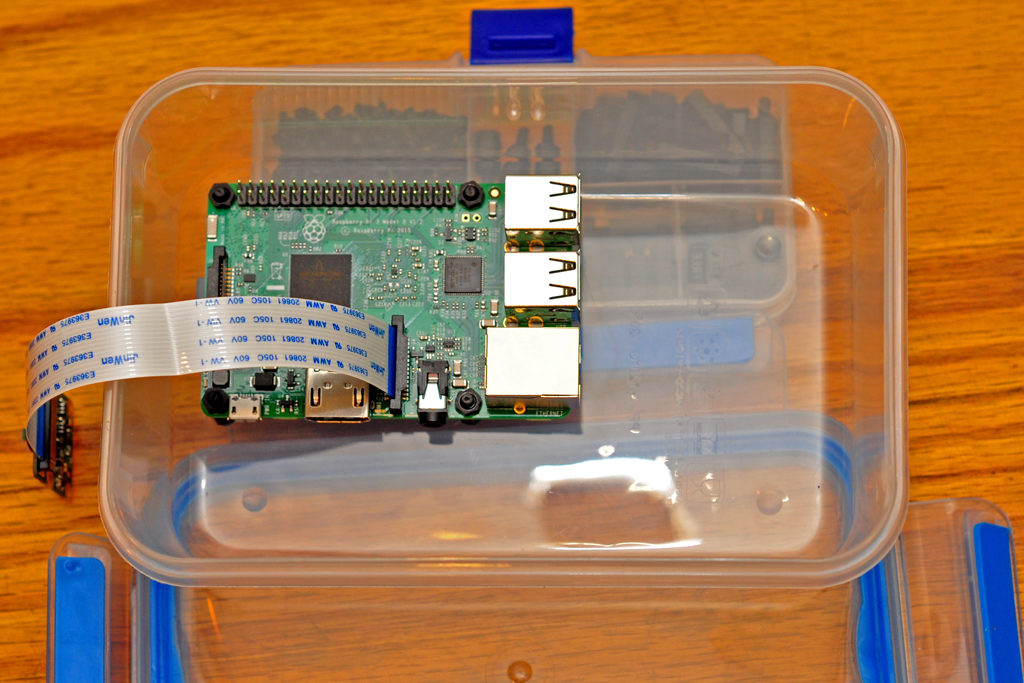
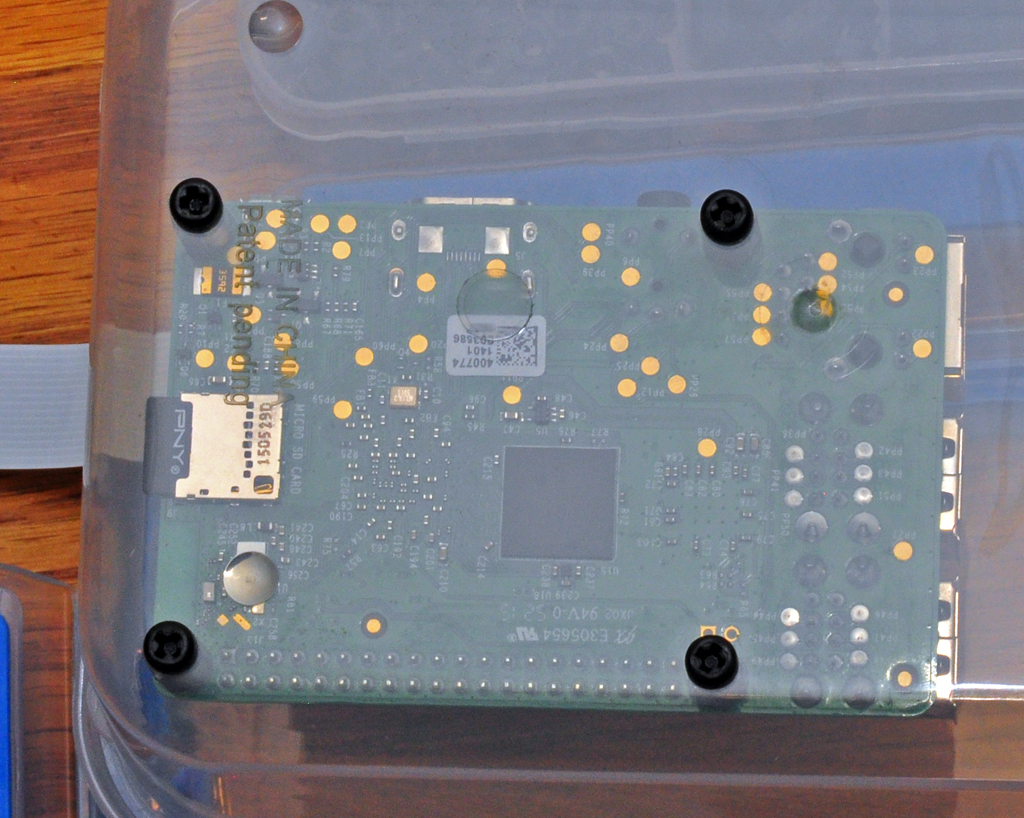
It all starts with the venerable Raspberry Pi. This time we have V3 Pis to work with. That's cool because it has plenty of power and built in wi-fi. What really pushed me over the edge was the new 8 megapixel camera, it really takes nice pictures and video too. As it is an official Raspberry Pi product it just works with the Raspberry Pi.
To get started we'll need a Raspberry Pi single board computer, a Raspberry Pi Camera V2, a micro SD memory card 16 gb or larger should do nicely. Need it fairly large to store the images. A 2 amp 5 volt charger with micro usb cable.
MCM electronics sells a kit with all of that for $87.99 and includes a plastic case. A fair deal, not great but it is everything you would need. If you want links and stuff for this I'll be happy to get them for you. You will also need a monitor or flat screen TV that accepts HDMI and an HDMI cable, USB keyboard and mouse (what you use for your PC will be fine). Once it is all set up you won't need the monitor, keyboard and mouse. Just need them to get it set up and will prolly be needed to set the cmaer up and position it,etc.
I have all of the stuff we need and it took me about two hours to put it all together and most of that was waiting for install stuff and updates to happen. Maybe a total of 10 minutes actually doing things. It works a treat, I cannot wait to get to my garden and get it set up. Once that's done I'll put together a short film and post it.
That's it for now. Stay tuned for step by step directions. Also be happy to answer any questions!!
Here I am with another project!
This time we're making a time lapse camera. Why? Well I have always wanted to make my own time lapse grow movie for one and just cause for two and three because it is so darn cool. Not to mention it can be used for many things other than a time lapse device.
It all starts with the venerable Raspberry Pi. This time we have V3 Pis to work with. That's cool because it has plenty of power and built in wi-fi. What really pushed me over the edge was the new 8 megapixel camera, it really takes nice pictures and video too. As it is an official Raspberry Pi product it just works with the Raspberry Pi.
To get started we'll need a Raspberry Pi single board computer, a Raspberry Pi Camera V2, a micro SD memory card 16 gb or larger should do nicely. Need it fairly large to store the images. A 2 amp 5 volt charger with micro usb cable.
MCM electronics sells a kit with all of that for $87.99 and includes a plastic case. A fair deal, not great but it is everything you would need. If you want links and stuff for this I'll be happy to get them for you. You will also need a monitor or flat screen TV that accepts HDMI and an HDMI cable, USB keyboard and mouse (what you use for your PC will be fine). Once it is all set up you won't need the monitor, keyboard and mouse. Just need them to get it set up and will prolly be needed to set the cmaer up and position it,etc.
I have all of the stuff we need and it took me about two hours to put it all together and most of that was waiting for install stuff and updates to happen. Maybe a total of 10 minutes actually doing things. It works a treat, I cannot wait to get to my garden and get it set up. Once that's done I'll put together a short film and post it.
That's it for now. Stay tuned for step by step directions. Also be happy to answer any questions!!