- Joined
- May 30, 2020
- Messages
- 2,559
- Reputation
- 2,545
- Reaction score
- 9,893
- Points
- 0
- Currently Smoking
- A Grove Bag special..
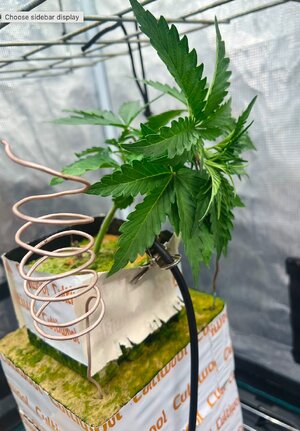
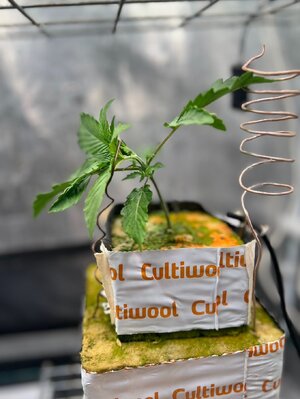
These cultivars were started in 1" Rockwool cubes and then moved into a 4" Rockwool Block.
At 9 days old they were then moved into their forever home sat upon one an a half Hugos and their own 15L reservoirs. The nutrient solution is RO water starting of at 35ppm, General Hydroponics one part NovaMax Grow makes up the rest to start of at 300pm.
Over the next week small increments will be made to reach 650-700ppm by day 15, Ph is kept at 6.
These ladies are being watered 5 times daily for 4mins. A wire curly rod holds the main top over for 10-14 days.
The Migro Aray 2 lights are 30cm away on full intensity. The environment is kept at a constant 27C, 65RH.
Attachments
Last edited:
")
