I bought a bag of ffof once. Was to hot for seedlings and full of gnats. Didn’t kill them but they didn’t like it
I have often heard Fox Farms Ocean Forest is "hot", not used it myself though.
The gnats were probably from bad storage at the suppliers.
With hot composts full of bio matter, it is best to add something not "hot".
Here is some info online for making seed compost.
Just remember seedling don't need a lot of nutes at the very young age and from germ can go a week without anything but water.
Keep it light and airy, low nutes.
You can do as many here used to and use the bottomless solo cup technique, where you sit the solo cup on top or in your final pot.
@St. Tom uses this method. It was once a very popular technique 5-10 years back in AFN.
Transplanting can be done into a stronger compost one a good root system has developed.
Be very gentle (careful) not to disturb the roots and gently firm in and water to reduce transplant shock!
I dwarf my plants as I grow in small spaces, I transplant at sex "first true pistils".
I do this quite deliberately and I am fairly rough about it too!
There is method in my madness, transplanting at sex and being rough, causes root/transplant shock and I use this to my benefit!
When the cannabis plant reaches sexual maturity (or puberty to be more precise) the plant likes to stretch.
By using transplant shock at sex, I effectively stop stretch as the plant is putting in more energy establishing new roots. There are other techniques I use too, to reduce height but that is for another time.
The point is with autos - be careful as you can, if you're transplanting or use the solo cup method or use my method if you want to dwarf. Remember dwarfing is transplant at sex. If you transplant without being careful at any other phase, you will stunt that particular phase the plant is in, with most probably no benefit to you or your young plants.
Ok here is the bit I got online with some recipes!
Growing your own seedlings can be a tough job for beginners — buying
seed starter trays, coming up with the perfect potting mix and taking care of them until germination.
And aside from tough, this task can also be expensive. So instead of availing costly bags of seed starting mix from the market, make your own recipe and learn the basics of growing your plants from seed to harvest!
Basic Reminders
Before going any further with creating your mix, we need you to note three fundamental things:
- Your seed starting mix should be sterilized
- It must be low in nutrients so as not to damage or kill your seedlings;
- And its texture should be light and permeable.
A lot of seed starting recipes are sterilized in the oven for 30 minutes at 120 or 180° C. Others, on the other hand, put the potting mix in 800 watts for 10 minutes in the microwave.
Nevertheless, here are the main ingredients that should be present in your seed starting mix.
Main Ingredients
1. Vermiculite or Perlite
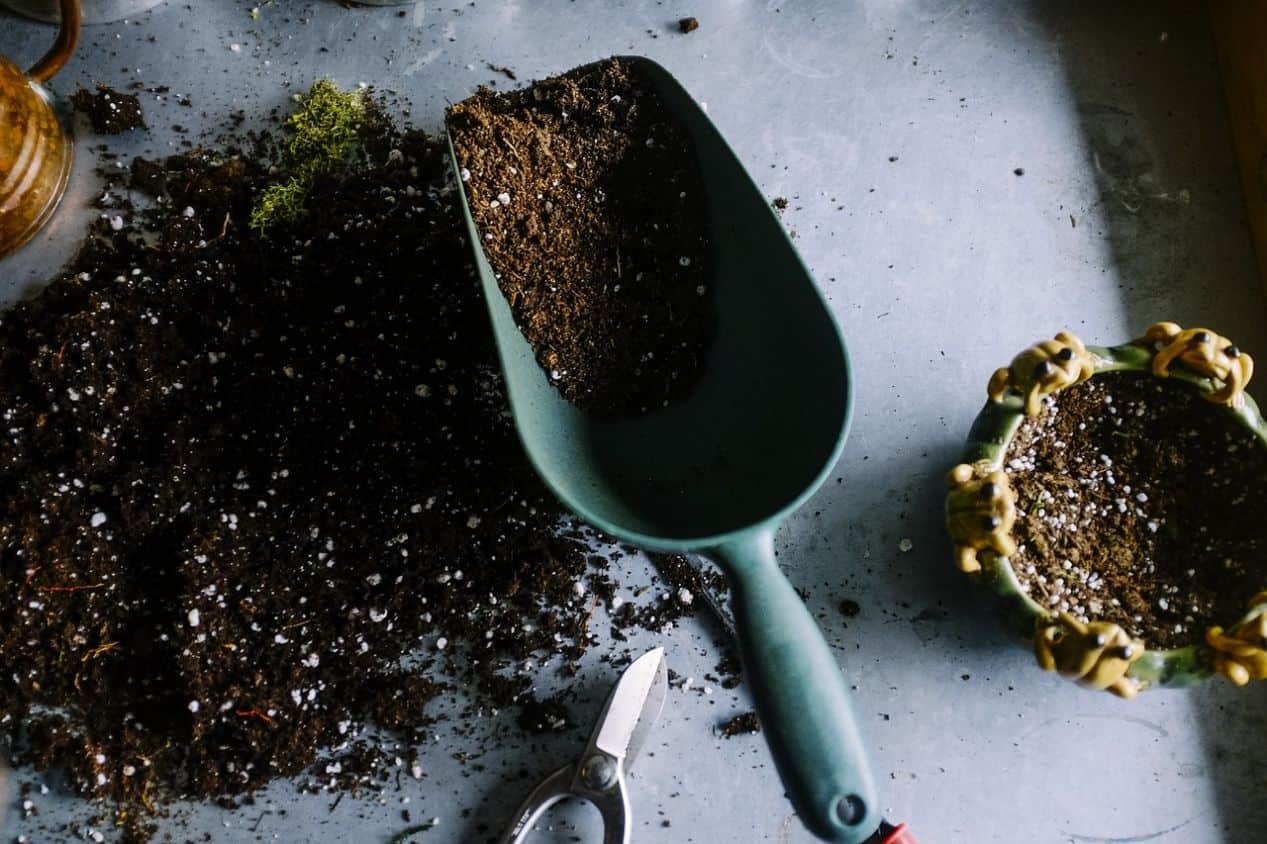
Vermiculite — A hydrous phyllosilicate mineral, this ingredient is processed with massive heat when used for horticultural purposes. It expands into accordion shaped pellets and is best in retaining water and nutrients into the mix, releasing it when needed.
Perlite — A volcanic mineral, perlite doesn’t absorb water or other nutrients, which means that it improves drainage. This ingredient also has insulating properties, helping plant roots during fluctuation in temperature.
Sand (alternative) — If you don’t have the ingredients above, sand can be an alternative. Though it does not contain any nutrients, it can help create a soil structure and drainage.
2. Peat Moss or Coco Peat
Peat Moss — This ingredient improves aeration in the soil and can save a lot of water in the process. It also contains fewer nutrients and is acidic, so make sure to add 1/4 tablespoon garden lime per gallon in the potting mix to balance the pH.
However, peat moss can only be obtained by destroying the remaining Mires.
Coco Peat — This ingredient comes from coconut fibres that are offered in lightweight blocks, swelling into larger pieces once you add water. Aside from the macro-nutrients and potassium it provides, it is also neutral, and its production doesn’t harm the environment, unlike peat moss.
Pine Bark Hummus (alternative) — As the name suggests, this ingredient comes from the composting of conifers’ bark. Its crusts are composted for a long period to create hummus that’s perfect for growing plants — has a stable structure and is water permeable.
Cat Litter (alternative) — For plants that require very few nutrients, cat litter can be a part of their potting mix. You can combine it with a nutrient-free mixture of perlite or pumice to give your seedlings the best rooting ground. Make sure to use the non-clumping, mineral-based type.
Leaf Mould (alternative) — This ingredient comes from the natural rotting process of leaves. You can use as part of a seed-starting mix.
Composted Wood Fibre (alternative) — This ingredient, similar to coir, is also low in nutrients. When mixing it in your potting soil, make sure that it did not come from treated wood waste.
3. Compost
Compost — This ingredient is used as a nutrient-rich humus for gardening. In using it as a part of your seed starting mix, make sure that it has a fine texture.
If you haven’t started composting yet, you need to discover the perfect compost recipe for your plants’ needs.
Home-made Seed Starting Mix Recipe
1. For high energy requirement seeds
- 40% – Peat moss or alternatives such as coco
- 30% – Compost
- 30% – Garden soil, sand and bark humus
2. For medium energy requirement seeds
- 55% – Peat moss, coco peat or wood fibre
- 20% – Compost
- 15% – Sand
- 10% – Bark humus
3. For low energy requirement seeds
- 50% – Peat moss or alternative such as coco
- 45% – Perlite or alternative
- 5% – Bark humus
Other basic seed starting mix:
- Add 1/2 part of perlite, vermiculite or sand and 1/2 part of peat moss or coco peat;
- Add 1/3 part coco peat or peat moss, 1/3 part compost and 1/3 part of vermiculite or perlite or sand.
Mixing Process
First, blend your proportion well.
Then, sterilise your recipe to make it evenly moist (especially when using peat moss). You can keep the soil in a discarded oven for 45 minutes at 150 ° C, or you can put it in a microwave oven for 10 minutes at 800 watts. (Note: Dried peat moss is flammable.)


